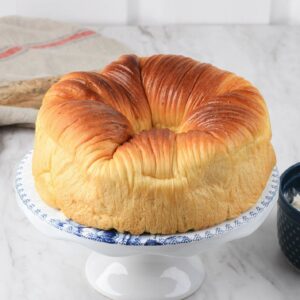
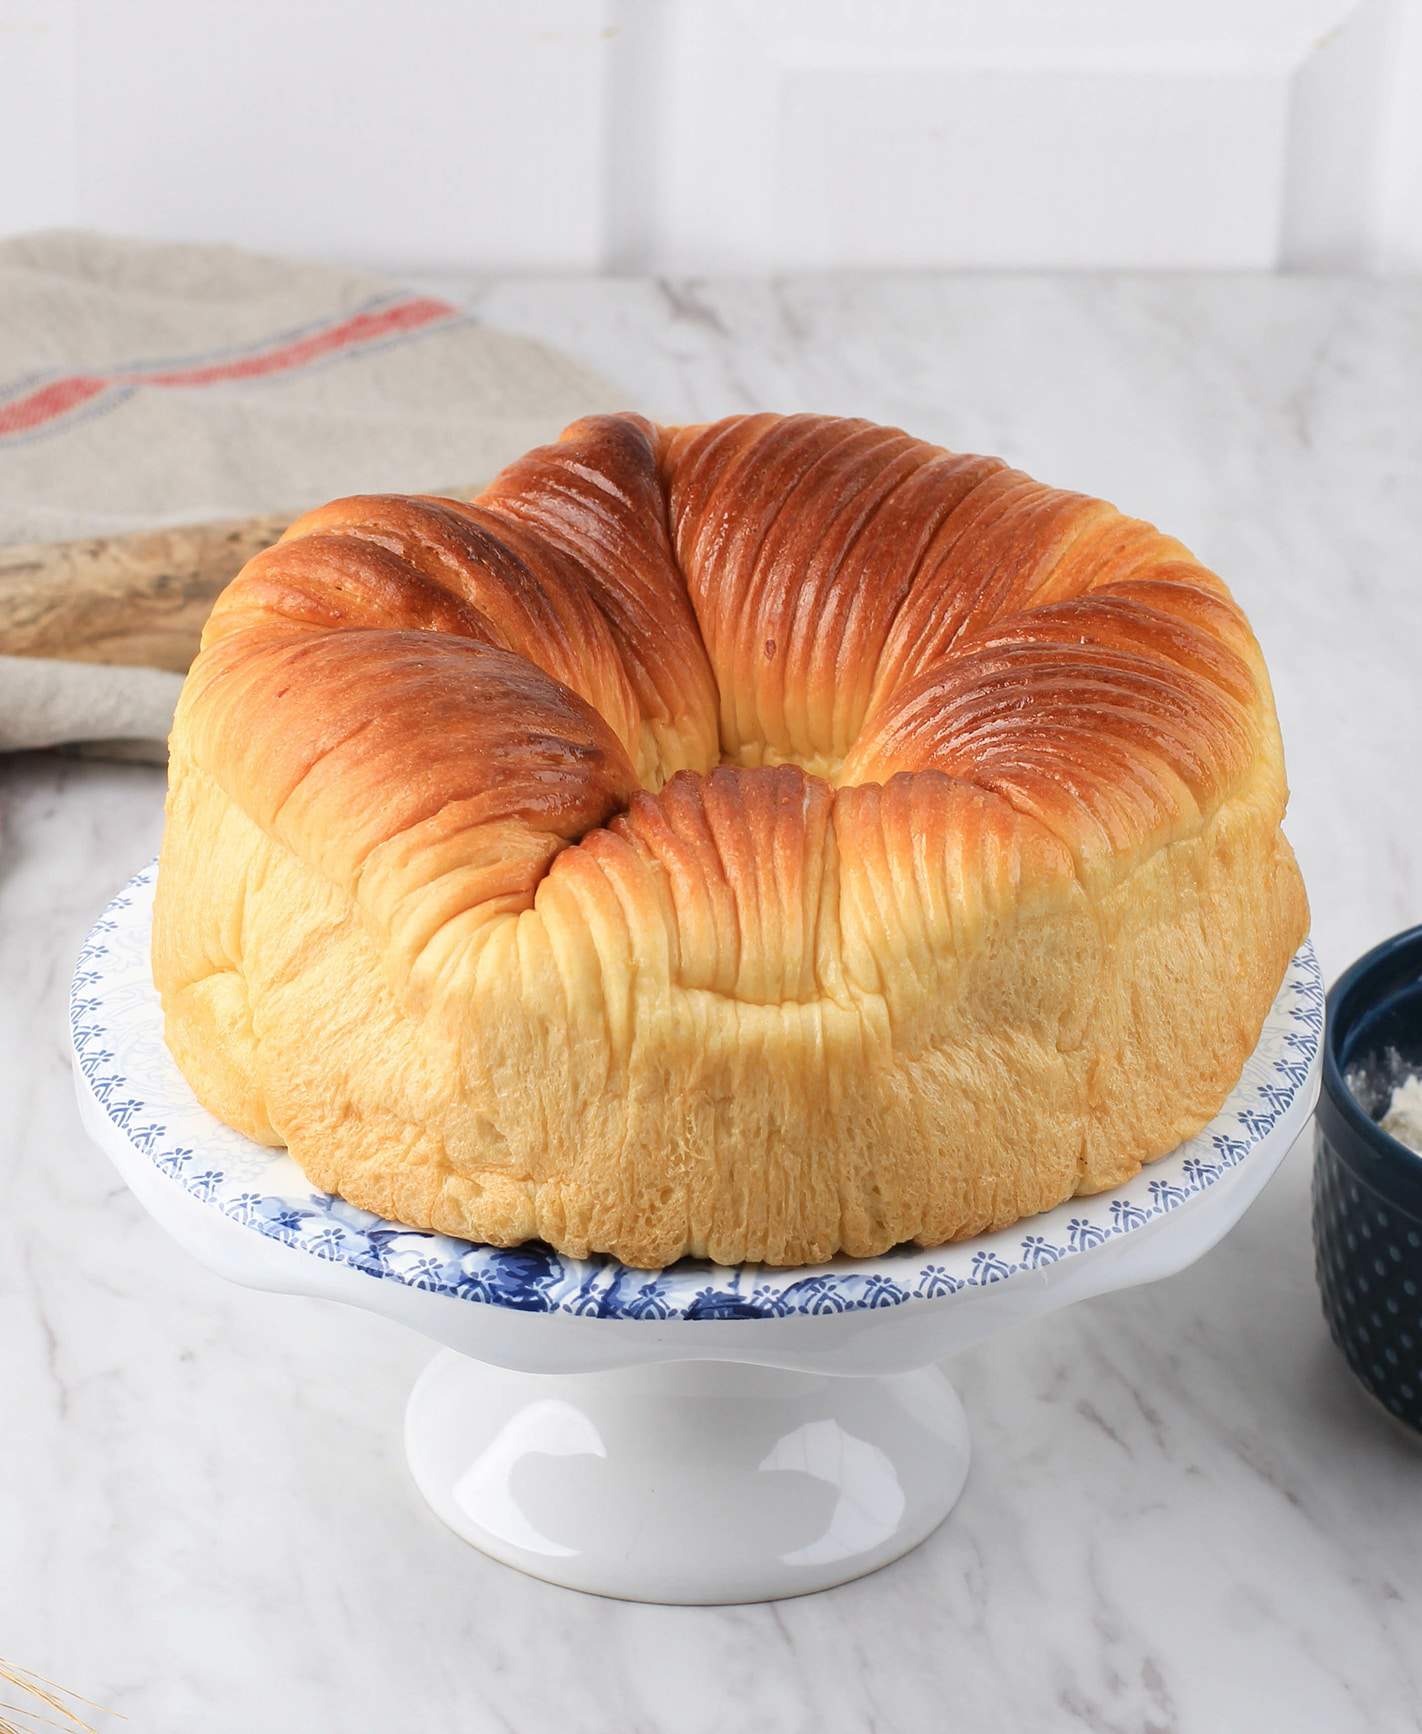
Wool Roll Bread has taken the world by storm – and our kitchen hasn’t escaped any of the excitement. Everyone is trying it, marvelling at the unusual bulging shapes on the outside and the light and fluffy bread (that could almost be cake) on the inside.
Bakers and home cooks alike are firing up their ovens to give this a go, putting their own spin on it by adding various fillings, from custard to Nutella to cranberries and even savoury cheese. Whichever filling they’ve decided to use, the one thing everyone agrees on is that this is the airiest, softest bread they’ve ever eaten.
Based on a Japanese milk bun recipe and assembled in different sections, this is called Wool Roll Bread because of the pattern that emerges when it has risen. The top crust resembles rolls of wool and you can see those strands quite clearly in this beautifully risen and browned loaf.
There is some kind of magic in seeing the result of these baked bread rolls that come together to form a Bundt-like cake shape, puffed up in a ring of pull-apart bread.
We’ve chosen to fill our loaf with some plumped up raisins, soaked in some dry sherry to add to the flavour. Raisin bread and raisin toast has never looked or tasted this good!
Over to you now to experience this baking innovation for yourself. Try it plain or test your own fillings and amaze your family, friends and neighbours. They won’t believe their eyes.

Wool Roll Bread With Sherry Raisins
Ingredients
- 300 g bread flour
- 1 tsp instant yeast
- ⅓ cup lukewarm milk
- 1 tsp sea salt
- 30 g sugar
- ½ cup whipping cream
- 1 whole egg
- ⅓ cup raisins
Instructions
Making the dough
- Preheat oven to 170 °C
- Add lukewarm milk and yeast to a small bowl, stir together and let it rest for 5 minutes to activate
- In a separate large bowl (your mixer’s bowl), add the bread flour, sea salt, sugar, egg, and whipping cream
- Add the milk and yeast mixture to the bowl
- Knead together or use a stand mixer with a dough hook until a consistent dough forms
- Shape into a large round dough ball and place into a large bowl greased with vegetable oil
- Cover the bowl with a lid or cling film and place it in a warm area until the dough is doubled in size (about 1 hour)
Shaping, filling and baking
- Plump up the raisins by soaking them in some hot water and sherry (or leave out the sherry if you prefer) for 15 minutes or so, until they are nice and plump
- Drain the raisins and put aside, ready to add to the filling
- Grease a 20cm (8 inch) round pan with butter or non-stick cooking spray
- Line the bottom of the pan with parchment paper
- Transfer the dough onto a work surface and pat it down a bit
- Cut the dough evenly into 5 pieces with a dough cutter or scraper
- Roll and shape each piece into a ball, cover with cling film and set them aside for 15 minutes to rest
- Using a rolling pin, roll out each piece of dough into an elongated shape, about 25cm (10in) long
- Press the dough down around the edges to keep it from stretching back on itself
- Cut thin strips (roughly the width of a strand of wool) into the dough along the top half of the rolled out dough (lengthwise), but keep the strips intact with the remaining part of the dough (if we had to pick the dough up, the strips would be dangling)
- Sprinkle the plumped up raisins over the bottom third of the dough (the uncut part)
- Fold 1cm (¼ inch) from three of the bottom edges of the dough, covering some of the raisin filling
- Roll the dough over itself to form an oblong roll shape, starting from the bottom filled side, moving towards the dough strips on the opposite end – pinch the sides shut once rolled
- Repeat the filling and rolling process with the other 4 pieces so you have a total of 5 dough rolls
- Place dough rolls around the perimeter of the prepared pan
- Cover the pan with cling film and rest in a warm area for 1 hour
- Gently brush the dough with milk and bake for 25 minutes or until golden brown
- Remove from oven and cool completely in the pan on a wire rack
- Once cooled, loosen the edges of the bread from the pan with an offset spatula or palette knife and remove from the pan
- Serve, tear apart and enjoy
Notes
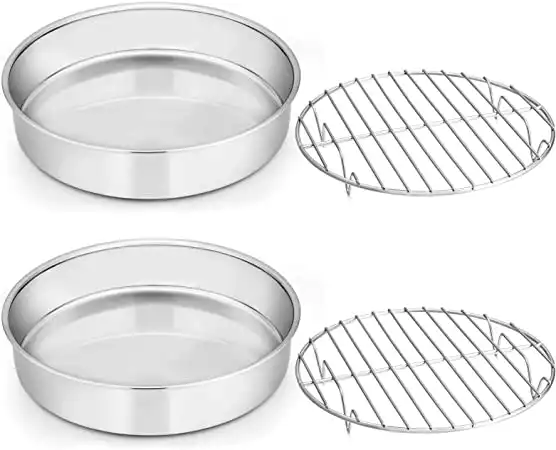
Crafted using heavy gauge stainless steel for high-heat baking, these cake pans won't warp, buckle or bend under any conditions. The mirror finished surface makes it easy to release bakes with a simple twist and the straight sides keep your bakes vertically aligned from every angle.
The rolled tops and smooth edges of the pans and racks mean no snags or scratched hands. When it's time to clean up, pop it in the dishwasher and you're done.


